How To Disable Quick Heal Antivirus In Pc 2024 Most Recent Superb Stunning List of
How To Disable Quick Heal Antivirus In Pc 2024. Click the Windows Start button, then type Windows Security in the search box, and select Open in the Windows Security panel. Note This update gradually rolls out to devices around the world. Quick Heal Antivirus is a powerful tool that protects your computer against viruses, malware, and other threats. Select Virus & threat protection in the left panel. You may need to disable your default. However, keep in mind that if you do, your device may be vulnerable to threats. How to disable quick heal antivirus on windows. Press Windows + I to open Windows Settings.

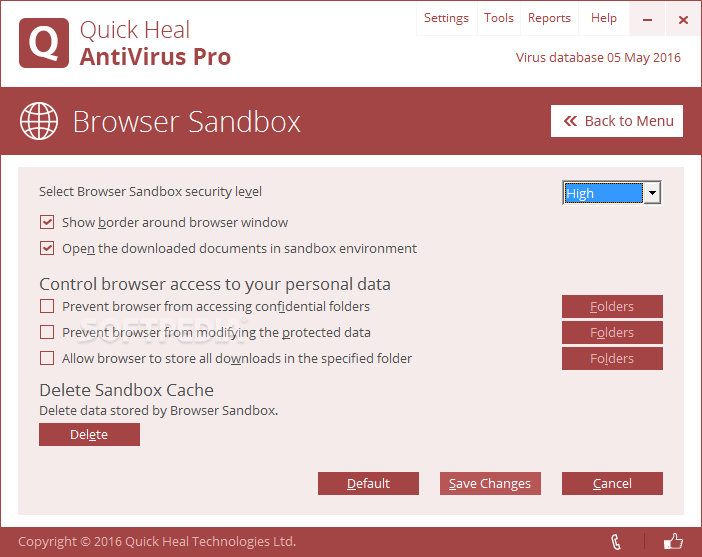
How To Disable Quick Heal Antivirus In Pc 2024. To configure Firewall Protection, follow these steps: Open Quick Heal AntiVirus Pro. Home / Quick Heal Documentation / Quick Heal AntiVirus Pro / Help and Other Recommendations Uninstalling Quick Heal Anti Virus Pro Removing Quick Heal AntiVirus Pro may expose your system to virus threats. By default, Firewall Protection is turned on. To set Firewall Protection, click anywhere in the Firewall Protection area. On the left pane, click Protection and then click Scan Settings. How To Disable Quick Heal Antivirus In Pc 2024.
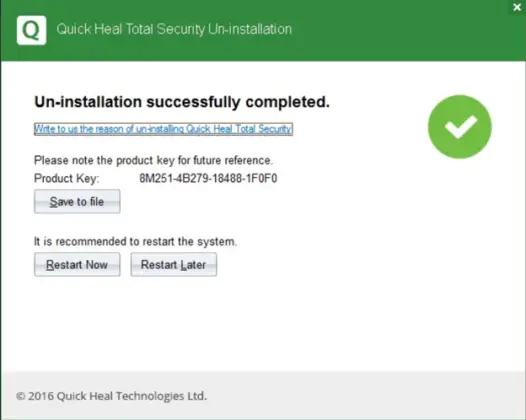
Click Uninstall or Remove button at the top of the program list or in the toolbar to start the uninstallation process.
Go to Settings > Windows Update and set the toggle for Get the latest updates as soon as they're available.

How to install Quick Heal Pro Antivirus | Complete Installation Guide …

HOW TO DISABLE YOUR ANTIVIRUS! – YouTube
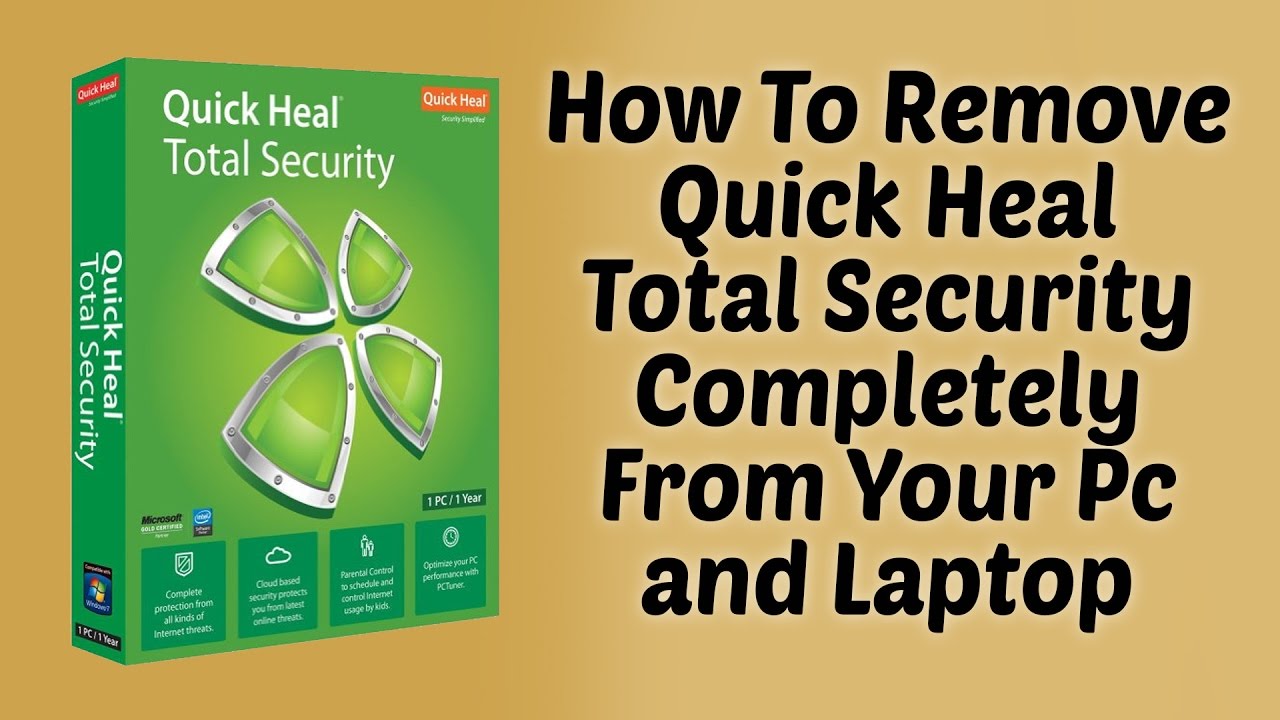
How To Remove Quick Heal Total Security Completely From Your PC and …

Quick Heal Antivirus for Windows 10 Pc Laptop 32/64 Bit Free Download

Quick Heal Antivirus, For Windows, Rs 1000 /piece Bliss Info Systems …

How to turn off quick heal antivirus in windows 10 | How to disable …

Quick Heal Antivirus Pro New Version – G.A Computers

Quick Heal Antivirus Pro Renewal Upgrade 10 Users 1 Year, For Windows …
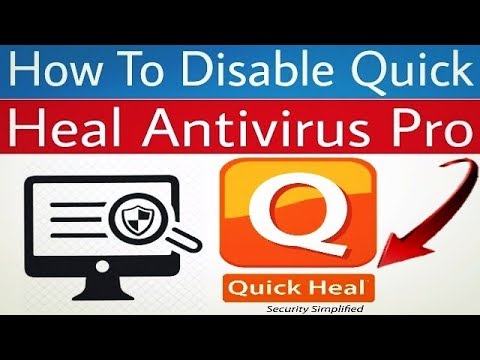
How To Disable Your Quick Heal Antivirus Pro On windows 7 // Hindi Tips …
Antivirus Software Quick Heal Total Security 360 Safeguard Computer …
How To Delete Quick Heal Antivirus From My Computer – Techyv.com
Download Quick Heal Antivirus Pro 19.00 (12.1.1.11)
How To Disable Quick Heal Antivirus In Pc 2024. Learn how to disable Quick Heal Antivirus on your Windows computer with this step-by-step guide. Locate "Virus & threat protection settings" section in the right window, and click Manage settings. By default, Firewall Protection is turned on. However, keep in mind that if you do, your device may be vulnerable to threats. Your default antivirus application appears at the top of the Virus & threat protection screen.
How To Disable Quick Heal Antivirus In Pc 2024.